Spring Boot 환경에서 구글 소셜 로그인 API를 REST 방식으로 구현하기
이전글
[Google Login API] 소셜 로그인 요청 Redirect 처리 (Spring Boot 레퍼런스를 보면서 구현해보는 구글 소셜
Spring Boot 환경에서 구글 소셜 로그인 API를 REST 방식으로 구현하기 들어가기에 앞서 기본적인 소셜 로그인 처리 프로세스에 대해 간단하게 짚고 넘어가도록 하겠습니다. 일반적으로 SNS Social 로그
antdev.tistory.com
Step
- Google APIs 신규 프로젝트 생성 및 개발환경 구성
- 새 프로젝트 생성
- OAuth 동의 화면 구성
- API Key 생성
- OAuth 클라이언트 ID 생성(사용자 인증 정보 생성)
- 개발환경 구성 및 Spring Boot 프로젝트 생성
- 개발환경
- Spring Boot 프로젝트 생성
- 소셜 로그인 요청 Redirect 처리 (로그인 최초 요청 처리)
- 소셜 로그인 요청 Redirect 처리 - 2
- 구글 로그인 Access Token 및 Refresh Token 발급
4. 소셜 로그인 요청 Redirect 처리 - 2
- Google APIs Reference
Using OAuth 2.0 for Web Server Applications | Google ID 플랫폼
This document explains how web server applications use Google API Client Libraries or Google OAuth 2.0 endpoints to implement OAuth 2.0 authorization to access Google APIs. OAuth 2.0 allows users to share specific data with an application while keeping the
developers.google.com
- Reference - Step 1. Set authorization parameters

구글에서 제공하는 설명서의 Step1을 보면 첫번째로 구글 API Server에 인증 요청을 어떤식으로 하면 되는가에 대한 설명이 있습니다.
우선에 안내되어 있는 요청 URL은 https://accounts.google.com/o/oauth2/v2/auth입니다.
그 다음 아래에 요청에 필요한 파라미터 설명이 있습니다.
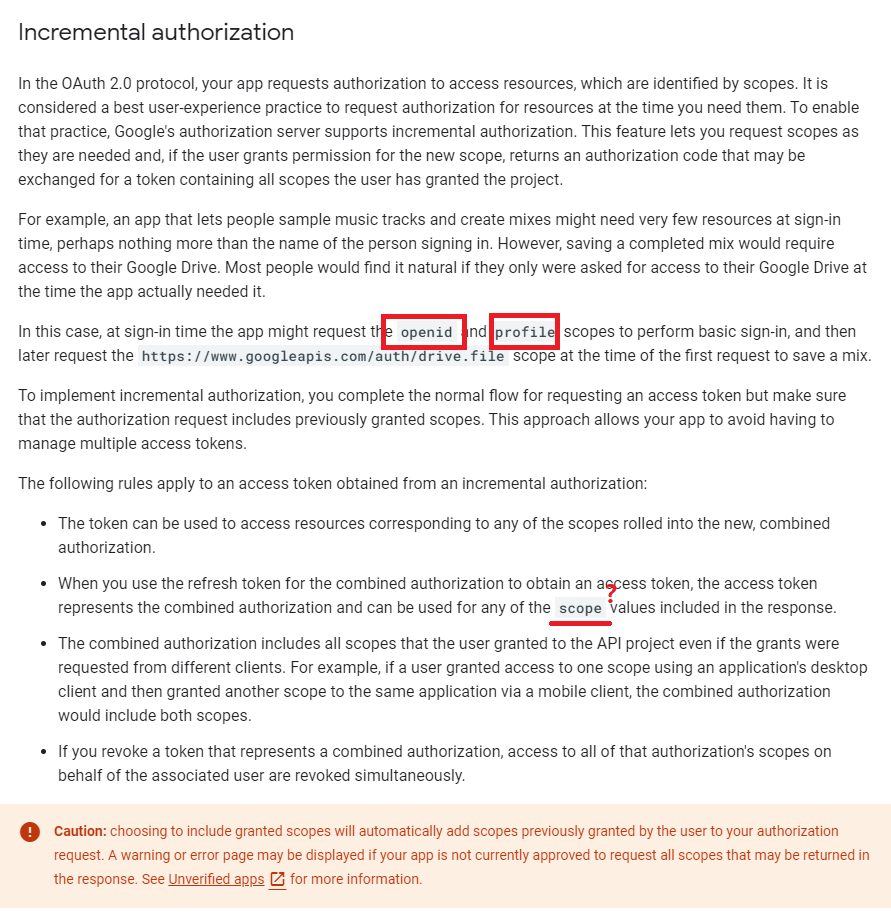
client_id, redirect_uri, response_type, scopes 의 필수 파라미터들이 있다고 하고 incremental authorization을 눌러보면
아래와 같은 위치로 페이지 스크롤이 이동됩니다.

내용으로 봐서 scopes 파라미터에는 사용자 정보 요청에 대한 범위 목록을 필요로 하는것 같고 아래에 scope 라고 되어있는 부분이 있는데 일단 넘어갑니다.
그럼 위 참고내용을 바탕으로 HTTP Request 요청 양식을 Postman을 활용하여 생성해보도록 하겠습니다.

요청 URL은 https://accounts.google.com/o/oauth2/v2/auth 이고 필수파라미터의 값들을 넣어줍니다.
client_id는 Google API Console 에서 프로젝트를 생성할때 Oauth Client ID의 ID 값을 넣어주도록 하고
redirect_uri은 프로젝트를 생성하며 넣어준 callback URL을 넣어주도록 합니다.
response_type은 참고문서에 안내되어 있듯 code라고 넣어주고
scopes는 profile이라고 넣어줍니다.
그리고 요청 테스트를 해보면

오류가 발생합니다.
'scope' 라는 필수 파라미터가 존재하지 않다라고 하는데 ..
위에 레퍼런스에서 보면 분명히 scopes라고 되어있는데 ... 일단 scopes를 scope라고 명칭을 수정하여 다시 테스트 해봅니다.


???
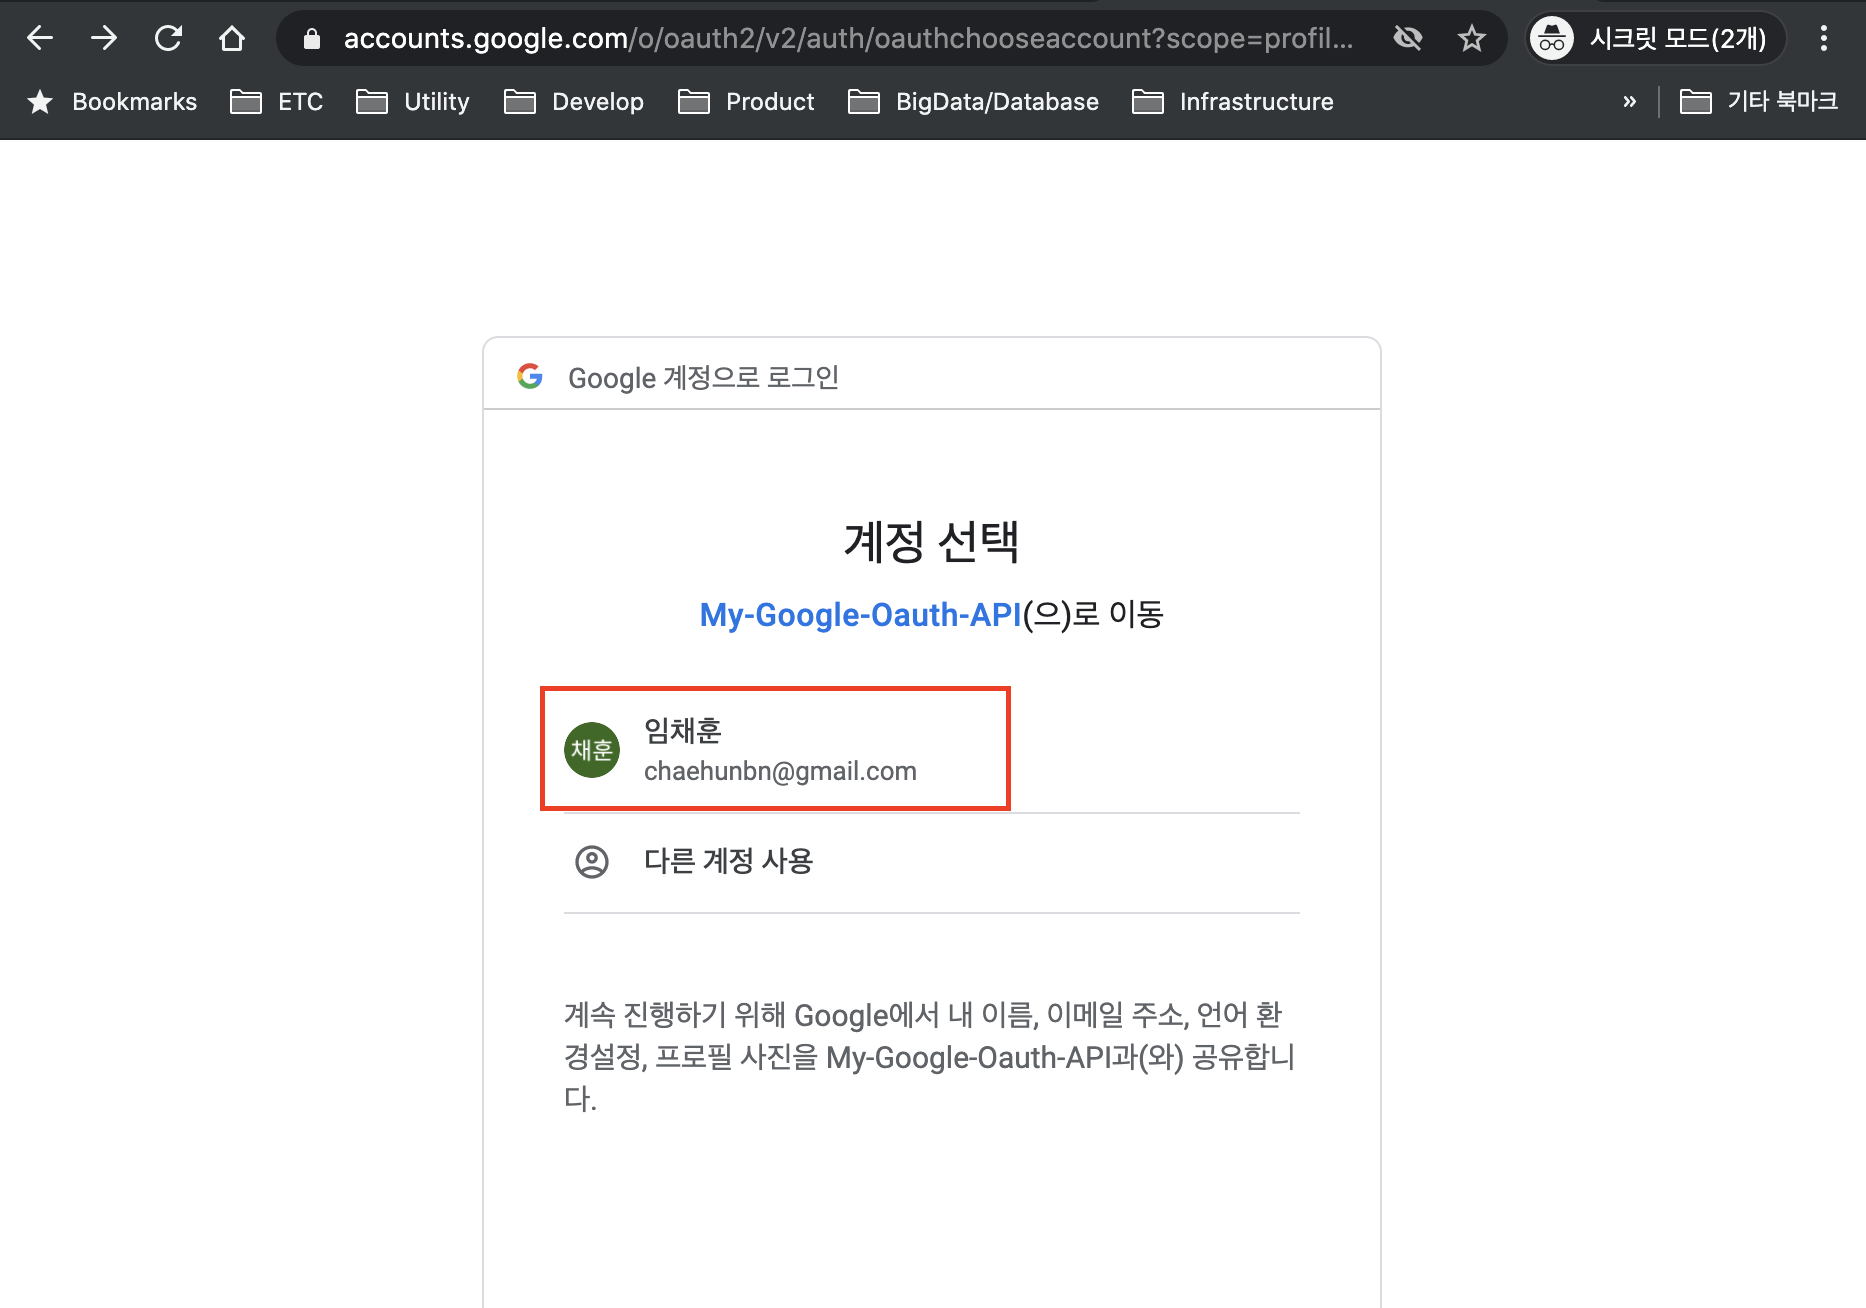
무언가 우리에게 익숙한 로그인 창이 뜨는걸로 봐서는 성공적으로 처리되는것 같은데 ...
웹 브라우저를 통하여 테스트를 해보도록 합니다.
테스트로 생성한 URL(https://accounts.google.com/o/oauth2/v2/auth?scope=profile&response_type=code&client_id=792142333254-9hr0movghp81k68jdgrmu2bpbraerf88.apps.googleusercontent.com&redirect_uri=http://localhost:8080/auth/google/callback)을 브라우저에 붙여넣습니다.


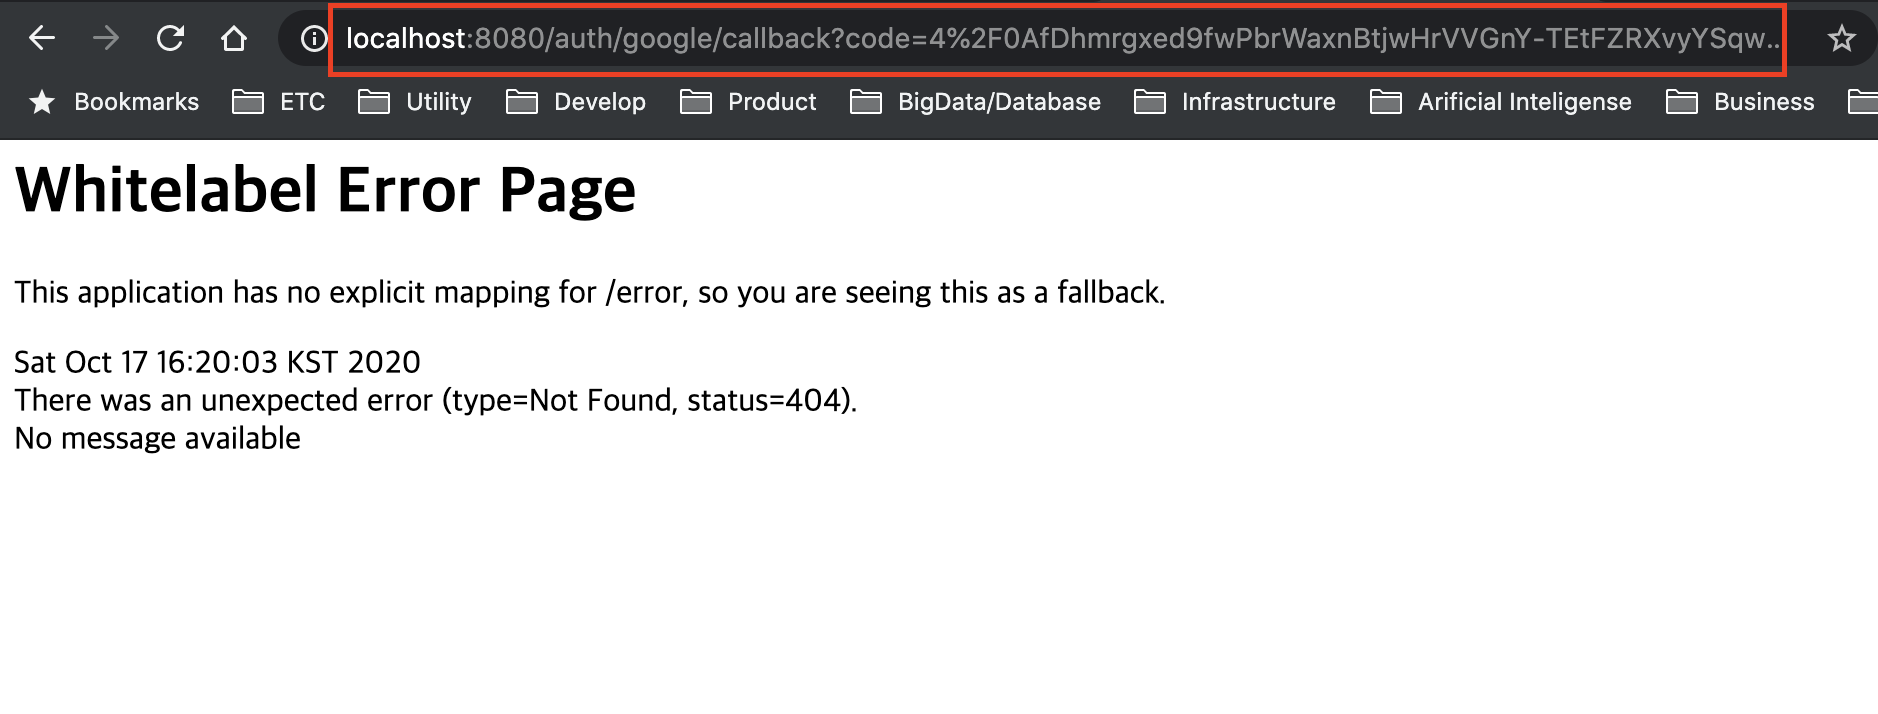
이번에도 무언가 우리에게 익숙한 오류 페이지가 등장합니다. (Spring Boot Default whitelabel 오류 페이지 입니다.)
(여기서 혹시나 앞전에 만든 Spring Boot 서버가 구동되어 있지 않다면 구동하신 뒤에 다시 테스트를 해보시기 바랍니다.)
제 계정을 클릭하여 구글 웹사이트에 로그인을 했을때 localhost:8080/auth/google/callback?code=4% ..... 으로 Redirect 처리되는걸 알 수 있습니다.
그럼 이렇게 진행된 테스트를 바탕으로 이 과정들이 우리 서비스에서 처리될 수 있도록 소스를 작성해보도록 합니다.
1. Google API 메타정보 application.properties에 추가
- application.properties - Github에서 소스보기
sns.google.url=https://accounts.google.com/o/oauth2/v2/auth
sns.google.client.id=792142333254-9hr0movghp81k68jdgrmu2bpbraerf88.apps.googleusercontent.com
sns.google.client.secret=4furtWRSntSGuKosjmdXInjt
sns.google.callback.url=http://localhost:8080/auth/google/callback
먼저 Google APIs 프로젝트를 생성할때 받은 값들 및 proerty 성격으로 사용될 값들을 추가해줍니다.
2. GoogleOauth 클래스의 getOauthRedirectURL메소드 구현
- org.project.oauth.service.social.GoogleOauth- Github에서 소스보기
@Component
@RequiredArgsConstructor
public class GoogleOauth implements SocialOauth {
    @Value("${sns.google.url}")
    private String GOOGLE_SNS_BASE_URL;
    @Value("${sns.google.client.id}")
    private String GOOGLE_SNS_CLIENT_ID;
    @Value("${sns.google.callback.url}")
    private String GOOGLE_SNS_CALLBACK_URL;
    @Value("${sns.google.client.secret}")
    private String GOOGLE_SNS_CLIENT_SECRET;

    @Override
    public String getOauthRedirectURL() {
        Map<String, Object> params = new HashMap<>();
        params.put("scope", "profile");
        params.put("response_type", "code");
        params.put("client_id", GOOGLE_SNS_CLIENT_ID);
        params.put("redirect_uri", GOOGLE_SNS_CALLBACK_URL);

        String parameterString = params.entrySet().stream()
                .map(x -> x.getKey() + "=" + x.getValue())
                .collect(Collectors.joining("&"));

        return GOOGLE_SNS_BASE_URL + "?" + parameterString;
    }
HTTP Test에 사용했던 URL의 형태(https://accounts.google.com/o/oauth2/v2/auth?scope=profile&response_type=code&client_id=792142333254-9hr0movghp81k68jdgrmu2bpbraerf88.apps.googleusercontent.com&redirect_uri=http://localhost:8080/auth/google/callback)로 Redirect URL을 생성하는 로직을 구성했습니다.
그리고 나서 이제 앞에서 생성한 Controller Method URL인 http://localhost:8080/auth/google 에 요청을 해보면 동일하게 구글 웹사이트에서 로그인할 수 있는 화면이 나오거나 아래의 오류페이지를 볼 수 있습니다.

이렇게 되면 이제 사용자가 http://localhost:8080/auth/google 로 구글 로그인 요청을 했을때 우리 서버에서 https://accounts.google.com/o/oauth2/v2/auth?scope=profile&response_type=code&client_id=792142333254-9hr0movghp81k68jdgrmu2bpbraerf88.apps.googleusercontent.com&redirect_uri=http://localhost:8080/auth/google/callback 형태의 인증 요청 URL로 Redirect 시켜주도록 구성이 완료된것입니다.
다음장에 이어서
혹시나 오류가 발생하거나 질문할 사항이 있으시면 댓글 및 카카오톡 1:1 오픈채팅을 통해서 문의해주시면 친절하게 알려드리겠습니다~!
지나가던 백엔드 개발자
open.kakao.com
전체 소스코드는 개인 Github에 올려두었습니다.
youspend8/google-login-api-sample-blog
Contribute to youspend8/google-login-api-sample-blog development by creating an account on GitHub.
github.com


댓글